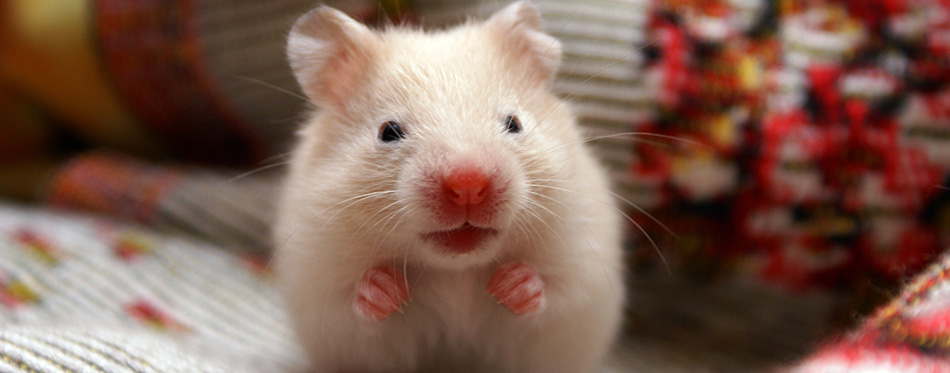
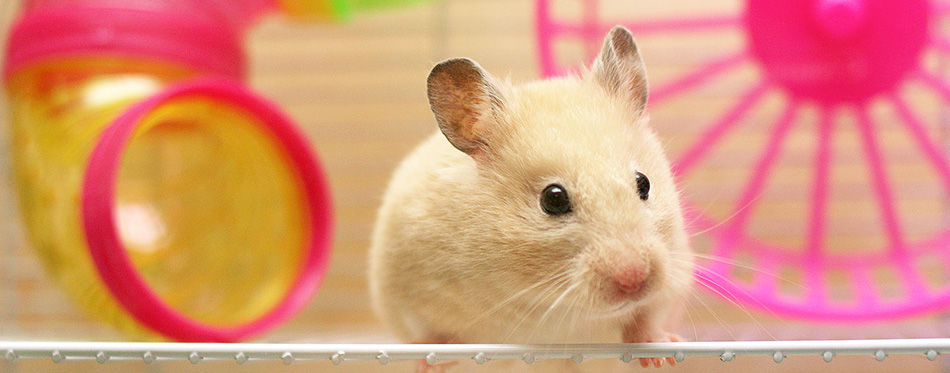
Hamsters are small adorable pets that look like colorful tailless mice. When given the proper care and affection, these creatures can be excellent companions for at least 2 years. One of the most important aspects of their care is getting them a nice, large enclosure they can call home. It is here where they thrive, exercise, play, eat, sleep, defecate, and many more. Since the cage is like a small community for hamsters, owners should do everything they can to keep it tidy and clean. This is both for the pet’s safety and its overall wellbeing. If you’re not sure how to clean your hamster’s home, we’re going to teach you how.
Prepare Your Cleaning Materials
Like any other cleaning activity, it’s always best to prepare everything that you will need. Think about all of the materials and tools that will help you in cleaning the hamster cage in an efficient manner. This saves you time and energy from having to look for materials at any point in the cleaning process. Here’s a list of the items that you may need to clean your hamster’s home. Take note, however, that the list is only partial as you may have some accessories that require a different method of cleaning.
- Baby wipes or wash cloth for scrubbing and cleaning the hamster cage. You may also want a hamster cage scrub brush, in case of wire enclosures.
- Disinfectant solution. There are available cleaning solutions in pet stores. It is important to use only solutions that are safe for your little pet. An alternative is to use a mild antibacterial dish soap or hand soap. If you don’t want such a solution, then white vinegar should be enough to disinfect the cage.
- Spray bottle for easier application of the disinfectant.
- Additional clean cloth for drying. An option is an old towel to facilitate quicker drying.
- New bedding. It is best to keep about a third of the “old” bedding to avoid stressing your pet. Make sure to choose parts of the old bedding that are clean, however.
- A garbage bag or a similar contraption for managing wastes from the hamster cage.
- Pair of gloves to protect your hands when handling the pet bedding.
- A face mask, in case of a very strong ammonia scent in the bedding.

“Relocate” Your Hamster to a Temporary “Shelter”
Before you make any attempt to clean the cage, it is best to “relocate” the little furball to a “temporary” home. You will not be able to clean its home in an effective manner if it is inside the cage. Moreover, this will cause a lot of stress in the small pet.
If you have a secondary cage, then this is the perfect temporary shelter. If you have none, then a clean box that’s large enough to accommodate the hamster plus a few of its things will do. Make sure to punch holes through the sides of the box for ventilation.
When transferring your hamster to its temporary home, be mindful of how you handle it. Do not cause more stress than what your pet can handle. Support the animal’s body by cupping your hands. If you are going to put the pet in its exercise ball as its temporary shelter, don’t leave it there for more than 30 minutes. Your little hamster still needs fresh air.
Always wash your hands before you handle your pet. This will help prevent transmitting to the animal any germs that may be present on your hands. Likewise, wash your hands right after transferring the animal to its secondary cage. This will prevent the transmission of germs from the hamster to you.
Remove All Contents of the Hamster Cage
Now that your pet is in its temporary shelter, you can start focusing your attention on the contents of its cage. Remove everything. Take out the hamster’s feeding bowls, water dispenser, and other pet accessories. If there are hamster tunnels and other playthings, detach these and remove them as well. Also remove any exercise equipment and toys that may be inside the hamster cage.
Remove the bedding. However, do not throw all of it into the garbage bag. Try to sift through the bedding and separate the “clean” ones from the soiled bedding. Get about a third of the clean bedding so you will have something to add to its new bedding. The idea here is to use the scent of the hamster to create a more relaxing atmosphere for the pet when you’re done cleaning. It needs to know that it is okay to sleep on the new bedding.
There are some hamster cages that have detachable parts. For instance, most wire cages come with a plastic bottom and an upper wire cage. There’s a system of latches that connect the two sections together. Unlock the latch and separate the two components to make it easier to clean.
Clean All Hamster Accessories, Items, and Cage Parts
Some pet parents would rather clean the hamster cage before the accessories. It doesn’t matter which one you are going to clean first. In our case, however, we’ve opted to start cleaning the accessories.
Do not make the mistake of thinking that these hamster accessories are clean just because they don’t look dirty enough. Germs and microscopic dust may be present on the surface of these items and these are things that the eyes can see. As such, every single piece of accessory, item, object, and cage part deserves a good cleaning.
There are pet parents who soak these items in a basin filled with water and added with a cleaning solution. Most, however, will spray these items with the disinfectant solution. Make sure that every square inch of the items gets covered with the disinfectant. Wait a couple of minutes to let the disinfectant kill the germs that may be present on the surfaces of these objects.
Get your washcloth or baby wipes and start cleaning the items. There will be some parts that may be more difficult to reach. Having a scrub brush should help clean these parts.
Rinse these parts very well using clean water. Dry them with a clean towel and let them continue drying under the sun. The sun’s UV rays will also help kill other germs that may still be present on these items.

Clean the Hamster Cage
While drying the hamster cage accessories under the sun, you can start cleaning the enclosure itself.
As mentioned earlier, if the cage itself comes in several parts joined by a latch or a clip, then you have to separate these parts to ensure a more thorough cleaning.
Spray the disinfectant solution on the cage, making sure every square inch of surface gets soaked with the solution. Leave it for a couple of minutes to allow the disinfectant to perform its function. Some pet parents soak the cage in a basin filled with water-disinfectant solution.
Wipe the surfaces using a clean piece of washcloth. Be methodical in your cleaning. Plastic and tank cages are quite easy to clean. However, pay special attention to the corners as ordinary washcloth may not clean these sections if not done in the correct way. If you have a soft-bristled brush, you can use this to clean the corners.
When it comes to cleaning wire hamster cages, it can be trickier. The issue here is that you need to wipe the individual grates or bars. Plus, there’s the problem of cleaning the section where a vertical bar meets a horizontal bar. A hamster cage brush can be helpful in such instances. Cleaning a wire cage can be more tedious than the other types of hamster cages. Regardless, you should be patient and persevering enough to ensure a clean and germ-free home for your pet.
Once you’re done cleaning, rinse the cage with clean water. Towel dry and allow to finish drying under the sun.
“Rebuild” the Hamster Cage
After making sure that the hamster cage and all the hamster accessories are already dry, you can start “rebuilding” the hamster cage.
Assemble the cage if it is the type that comes with detachable components. Make sure to secure the latches. Mix the old bedding into the new bedding to help “blend” the old scent with the new one. Spread the bedding at the bottom of the cage.
Attach the different toys and exercise equipment that your hamster has. Start with the tunnels before the exercise wheel and other toys. Place your pet’s feeding bowl and water dispenser in the hamster cage. Make sure to fill them with fresh hamster food and drinking water. If you are looking for more options, check out our guides on hamster wheels and toys for hamsters.
Get your hamster from its temporary shelter. Scoop it up in a gentle manner, making sure to support its whole body. Place the hamster inside its newly-cleaned home. Leave it for a couple of hours to help it adjust to its “new” environment. It should be able to “pick up” the scent of its old bedding, making the process of transition a lot faster and easier.
Ensuring a clean home for the hamster is every pet owner’s responsibility. It ensures a safer home that can help promote general wellbeing for your little pet.

