As a pet owner, you have numerous responsibilities that need taking care of. And one that often gets overlooked is cutting your dog’s nails. You can usually tell when the time has come to give their nails a trim when your pup starts making a clacking noise as they move across hard surfaces in your house. Unfortunately, most dogs hate to have their nails trimmed, which obviously makes your job a whole lot harder. However, you can make things easier by getting into a good weekly habit of giving your dog’s nails a trim. Also, if you start them off when they are young, this also helps.
But before you attempt a job such as this one, you want to make sure that you are doing it the right way. So, consult with your vet or dog groomer to ensure that you know what you are doing. In this post, we are going to give an overview of some of the steps that you can take to keep your dog’s nails in good shape.

Dog Nail Information
Before we get into the step-by-step guide, let’s start by discussing the anatomy of your dog’s nails. Essentially, it is composed of different layers. The part we can see is the nail itself – or the ‘shell’. This acts as protection for the soft inner layer called the quick. This is the part that contains all the blood vessels and nerves. You should avoid cutting into this at all costs as it will cause a lot and pain and bleeding. If your dog has light-colored nails, the quick is easier to see as it is pinkish in color. It is more concealed in darker dogs, so you may need to feel to work out exactly where it is located.
Choosing Your Tool
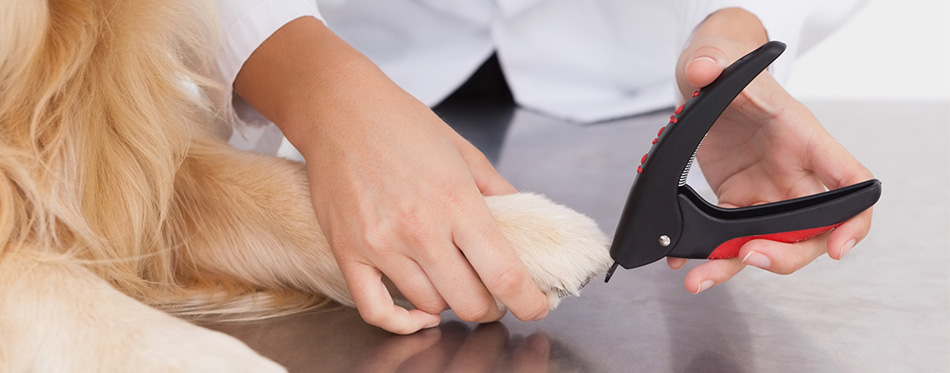
Now, you need something with which to trim your dog’s nails. Some people prefer clippers, while others use grinders. Clippers come in two different styles: scissors and guillotine. The latter has a hole for your dog’s nails to stick through before it is clipped by squeezing the handle. Alternatively, you may prefer a grinder for additional control. While many people like using a grinder, some dogs are freaked out by the buzzing noise that they make, so this is worth bearing in mind. It may take a bit of experimentation before you work out which tool you prefer – and the one that makes your pooch feel comfortable as well. Check out our guides on dog nail clippers and dog grooming tables for more info.
Step-by-Step Guide
- Allow your dog to inspect the clippers
Before using any kind of clipping tool on your dog, you should allow them to get used to the look and feel of the tools. Dogs tend to want to explore things with their nose, so give them ample sniffing opportunity. You can help them associate it with positive feelings by giving them treats and praise. Try putting them on top of the tool so they directly make the connection with it and good things. If you are going to use a grinder, you will need to get your dog used to the noise that it makes.
- Hold the foot steady
Now that your pooch is used to the clippers, you need to overcome with foot touching obstacle. Some dogs will pull their leg away the moment you try to touch it, and it can take a long time to make them feel comfortable. Before you attempt to cut your dog’s nails, it is a good idea to get them used to the feeling of you touching their feet. So, you can try holding each one gently. Use treats and praise if they are reluctant. You can gradually start to increase the amount of time spent touching their feet. Next, you will need to combine the clippers and the foot touching, which can be a difficult step, so you are going to need to have bags of time and patience. The more prep work that you put in of allowing your dog to get used to the clippers and holding their feet, the easier it should be.
- Choose your location
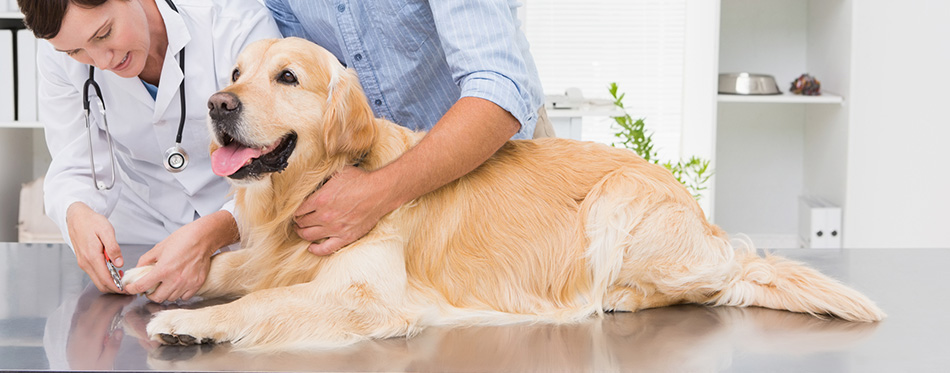
The location makes a difference to how easy or difficult the task proves to be. Choose somewhere you feel nice and comfortable. Also, you should make sure that there is good lighting, so you can clearly see the nail and the quick. If your hand starts to cramp up, take a break rather than risk having an accident. One way of restraining your dog is by cutting their nails on a table. Try standing at the end opposite to the claws that you are trimming. Drape your arms and upper body over your dog. This helps to keep them in position and is not an overly threatening pose to take. It could almost be mistaken for you giving them a hug!

- Make sure your dog is relaxed
The task becomes much easier if your dog is feeling relaxed. You may want to choose a time just after they have been fed or you have got back from a long exercise session as this is when they are likely to be feeling a little bit sleepy. If your dog is reclining with their legs stretched out in front of them, this is a good opportunity. Alternatively, some owners prefer it if their pooch is standing up. Again, it may take a bit of experimentation before you work out which position works best.
- Snip off small bits
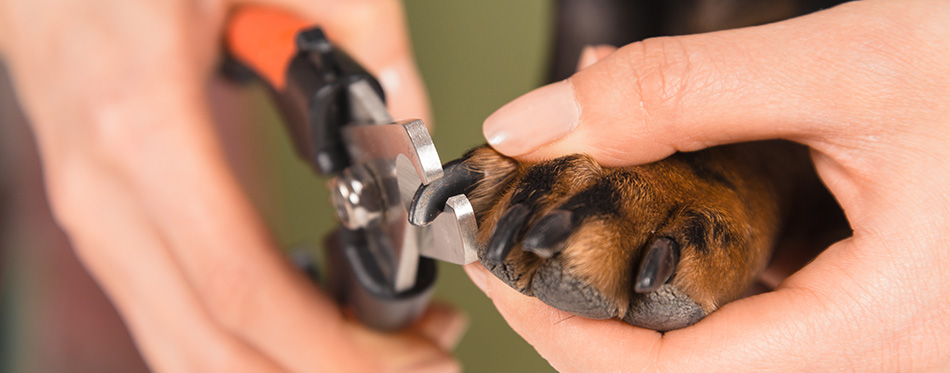
Your dog’s nails consist of the quick and the nail itself. It is only the latter that you should be cutting into. The quick is the pink part of the nail that provides its supply of blood. As you would expect, this is a highly sensitive area which can bleed quite a lot if it is cut into. Whether you have chosen guillotine or scissor clippers, you should only put a small bit of the nail in the tool. It is better to be cautious rather than risk cutting the quick. You can then snip the nails. It will take more force than cutting your own nails as your dog’s nails are thicker. The nail should feel hard. If it feels spongy, this is the quick and you should not cut. You should aim for just 1mm or 2mm at a time. Inspect your dog’s nails after each cut and stop if you are getting close to the quick.
- The grinding method
If you have chosen to use a grinder rather than clippers, the process is a little different. You should still hold the tool in your strong hand. Turn it on and gently touch it to the edge of your dog’s nails, counting to two in your head each time. Take off the grinder, make sure everything looks okay, and give your pooch some praise, before repeating the action for another couple of seconds. Stop when you start approaching the quick. For a wider selection of choices, check out our dog nail grinders guide.
- Smooth any rough edges
To finish off the job, you can smooth out your dog’s nails using a file. This helps to ensure that they don’t get caught on anything
- Stem any bleeding
If you do happen to accidentally cut into the quick, you are going to need to stem the bleeding as quickly as you can. Your dog will be in pain and there is likely to be a lot of blood. You will either need a nail cauterizer – which stems the bleeding through the application of heat – or a styptic powder that is put on using a cotton swab. Even if you are confident that you know what you are doing, you should have one or both of these objects on hand as accidents sometimes happen. You can use a damp washcloth to mop everything up. If you are unable to stop the bleeding, you are going to need to make a trip to the emergency vet. The painful effects of cutting into the quick are likely to be felt by your dog for a long time afterwards.

Final Thoughts
Patience is the name of the game when you are properly cutting your dog’s nails. Take your time and don’t rush the job as you are more likely to make a mistake. There is a lot of preparation work which goes into doing it successfully involving letting your pooch get used to the tools and holding their feet. Take your cues from your dog. You shouldn’t force them if it is clear that they are showing some signs of distress. You don’t need to pressure yourself into doing all four of the paws at once.
Getting into a good habit of cutting your dog’s nails is just one part of a successful grooming regime. If you learn to do all of these tasks yourself, you will save yourself a bundle on not having to hire a professional dog groomer. The more you do it, the more your dog should get used to the process and things will become easier.
Sources:
- How to Trim Your Dog’s Nails Safely – AKC
- Clipping Your Dog’s Claws – Washington State University

